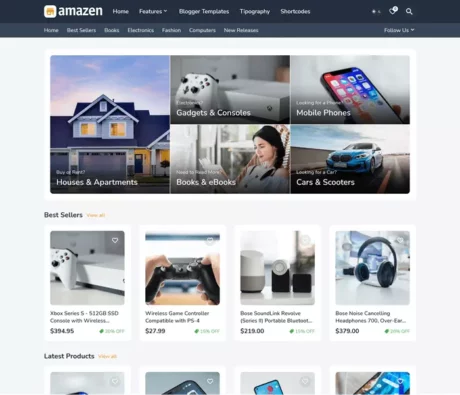
Have you ever noticed how much a visually appealing blog can captivate your audience? When I stumbled upon the Amazen Blogger Template, I was entranced by its sleek design and easy customization. It’s amazing how a good template can elevate a blog’s appearance and user experience.
To download and set up the Amazen Blogger Template, first, find a reputable source and download the template file. Extract the ZIP file and go to your Blogger dashboard. Under “Theme,” click “Backup/Restore” to upload the extracted XML file. Customize as needed for a seamless blogging experience.
Steps to Download the Amazen Blogger Template
DOWNLOADClick on the download link for the Amazen Blogger Template. This will usually take you to a new page with a detailed description of the template. Look for the “Download” button or link on this page. Make sure you are not clicking on any ads mistakenly. These templates often come with multiple download options, like free and premium versions.
After clicking the download button, you may be redirected to another page or a pop-up might appear asking for confirmation. Follow the instructions given carefully. Within moments, the template file, typically a ZIP file, will start downloading to your computer. Ensure you have a stable internet connection to avoid any interruptions. Once the download is complete, locate the file in your ‘Downloads’ folder.
Next, extract the ZIP file using software like WinRAR, WinZip, or 7-Zip. Right-click on the ZIP file and choose the option to “Extract Here” or “Extract Files.” You’ll see new folders and files appear in the same location as your downloaded file. These files include the XML template and possibly some documentation. It’s now ready for the setup process.
Here’s a quick checklist for your convenience:
- Find and click the correct download link
- Confirm any pop-ups or messages
- Wait for the download to complete
- Locate and extract the ZIP file
- Check the extracted files
Following these steps will ensure you properly download the Amazen Blogger Template without any issues.
Setup Amazen Template in Blogger
Now that you have downloaded and extracted the Amazen Blogger Template, it’s time to set it up in Blogger. First, log in to your Blogger account and go to the Dashboard. Click on the “Theme” section located in the left-hand menu. You’ll see an option to “Backup/Restore” in the top right corner. This is where you’ll upload the new template file.
Click the “Backup/Restore” button, and a dialogue box will appear. Select “Choose File” and navigate to the extracted folder where your Amazen XML file is located. After selecting the file, click “Upload” to initiate the upload process. Wait for a few moments as Blogger processes the new template. Once it’s done, your blog should automatically update to the new template.
If you encounter any errors during the upload, check that you have selected the correct file. Make sure the XML file is intact and was not corrupted during the download or extraction process. Errors can also occur if the file size is too large or if you’re using an outdated browser. Re-download the file if issues persist. These checks can help resolve most common issues.
After successfully uploading the template, you might want to customize it further. Head back to the “Theme” section and click on “Customize.” Here, you can change colors, fonts, and layouts to match your blog’s style. The Amazen template usually comes with customization options detailed in its documentation. Playing around with these settings can give your blog a unique look.
To ensure everything is working correctly, preview your blog by clicking the “View Blog” button. Check all pages and widgets to confirm they are displayed as expected. Don’t forget to test the responsiveness on different devices like smartphones and tablets. This ensures a seamless user experience across all platforms.
The Shortcode
Shortcode: {getProduct} $button={Button Text} $price={Product Price} $sale={Product Offer} $free={It is Free?} $icon={Icon Name} $style={Style Options}
Free Attribute: yes or no
Icon Attribute: cart, download, paypal, whatsapp or gift
Style Options: 1, 2 or 3
Style 1 – It will display the Call to Action inside the post and in the sidebar.
Style 2 – Will display the Call to Action only inside the post.
Style 3 – It will display the Call to Action only in the sidebar.
INFO: The attributes Sale, Free, Icon and Style are not required and should only be added if necessary.
3. Link Settings
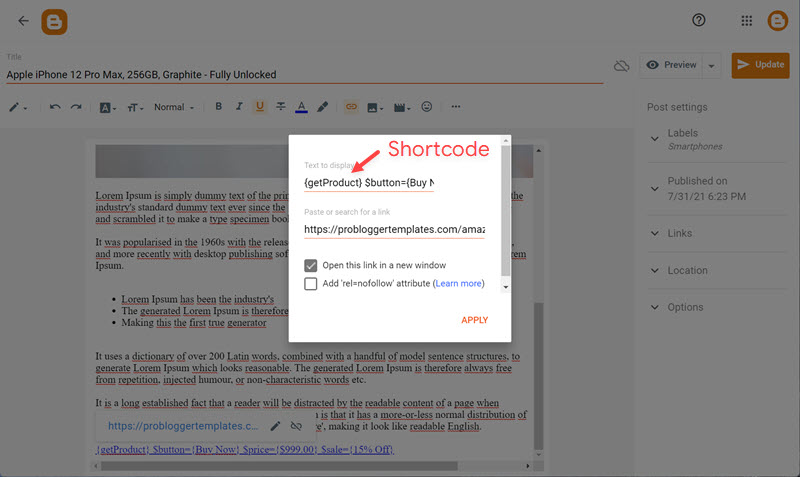
Below are some amazing examples you can use to configure your products.
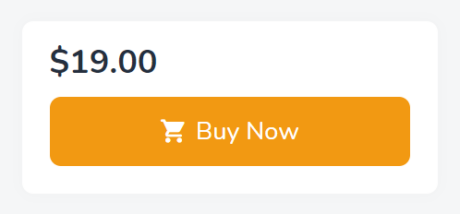
Standard: {getProduct} $button={Buy Now} $price={$19.00}
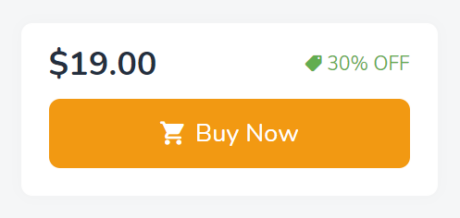
With Discount: {getProduct} $button={Buy Now} $price={$19.00} $sale={30% Off}
{getProduct} $button={Buy From Amazon} $price={₹25,990} $sale={30% Off}

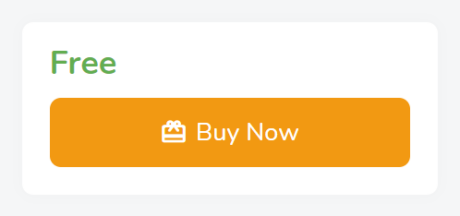
Free: {getProduct} $button={Buy Now} $price={Free} $free={yes} $icon={gift}
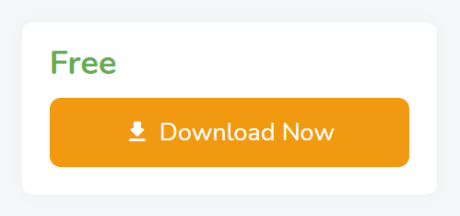
Downloadable: {getProduct} $button={Download Now} $price={Free} $free={yes} $icon={download}
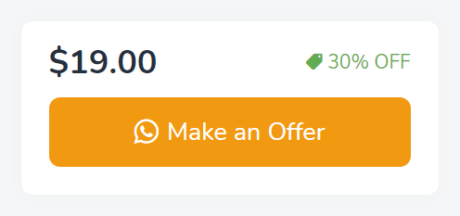
Buy on Whatsapp: {getProduct} $button={Make an Offer} $price={$19.00} $sale={30% Off} $icon={whatsapp}
